How to Putt: Practice Drills for Better Putts
What is Putting? Learn How to Putt Better
The ability to putt well can feel like the difference between making it and breaking it in the game of golf. It is, after all, where the majority of strokes are taken. That being the case, it’s very important to know how to putt–and how to putt better.
Many golfers know that small variations in a putting swing can have large consequences on the course. However, there are a few things golfers can focus on to help improve the consistency of their putting, which can in turn help shave off a few strokes from their overall game.
By definition, putting includes any strokes made on (or very close to) the green. Golfers use a club called the putter specifically for this type of finesse shot. Putting focuses more on gently encouraging the ball across the green and into the hole, whereas a driver shot involves much more power through the ball.
Golfers adjust their distance control for how to putt based on how far from the hole they are — whether they’re in the rough or on the green. You may not make the PGA Tour after this article, but you may start shaving a few strokes off your round!
This is my diagram from tonight's putting clinic. Even I could make it into a cup that big! #notanartist #tkga pic.twitter.com/oSPmyCvfOe
— Todd Kolb (@toddkolbgolf) June 1, 2016
Keys to a Good Setup
The most important thing to do to make a good golf putting stroke and how to putt is to have the proper setup.
While golfers tend to have varying definitions of what a good putting setup looks like, there are a few key factors that lead to a consistent putting stroke. The first ingredient for a good putting setup is level shoulders.
The putting motion is a pendulum motion. The angle of the shoulders sets the pendulum into motion, so it is important to make sure that the shoulders are level. If the trail shoulder — the right shoulder for right-handed golfers — is lower than the lead shoulder, the putter will always swing low to high, and that doesn’t lead to good contact with the ball. Making sure the shoulders are level allows for consistent contact with the ball.
Here’s a great video where we dive a little deeper:
The second key ingredient to a good putting setup is making sure that the putter shaft is in line with the forearms.
When looking from a down the target line view, the shaft of the putter should disappear behind the forearms; if a golfer is not aligning the club correctly, the shaft of the putter will peek out. Making sure that the putter is “in the lifeline” of the hand is one way to help make this setup more natural.
Cheryl Anderson with a great video on how to putt here:
Putter Grip and Motion
Many golfers grip the putter incorrectly, holding it more with their fingers than with the palm of the hand. So that is a good place to start when focusing on the correct putter setup. You should also be sure your grip pressure is not too tight.
Another way to ensure that the grip is correct is to set up while holding the club parallel to the ground; once the grip is correct and the club is aligned to the forearms, simply tilt the body forward from the hips. (Learn more about body movement here)
Putter swings should do two things:
- They should go straight back and straight through, and
- They should move in a natural, slight arc.
Having level shoulders and aligning the putter to the forearms leads the body to naturally carry out this motion. So do your best to keep your wrists and hands from taking over.
The last thing to mention about putting setup concerns pressure on the feet. The pressure through the feet can impact the quality of many different strokes in the golf game, noted especially for full swings like drive shots or wedge shots. However, this is also true for the most precision aspect of the game as well — putting.
The key to a solid putting motion is to put more pressure on the lead foot. For a right-handed golfer, that means the left foot. Golfers should shoot for about a 60/40 pressure distribution: 60% of the pressure should be in the lead foot, and 40% should be in the trail foot. This pressure distribution should not change throughout either — try to keep 60% pressure on the lead foot throughout the entire swing.
Four Great Drills to Improve Putting Skill
Putting is an inherently difficult part of the golf game because it involves precision and finesse. While we struggle on methods of how to putt, fortunately, there are a number of drills that can help golfers develop consistency and control over their putting stroke. The drills detailed below are simple, but they are valuable tools for golfers hoping to improve their putting skills.
Lead Foot Only Putting Drill
This drill focuses the golfer on foot pressure distribution. A good putting shot puts about 60% pressure on the lead foot. For right-handed golfers, the lead foot is the left foot. This drill is fairly self-explanatory, but it helps golfers conscientiously distribute the pressure on their feet.
Set up the putting grip, but put 100% pressure in the lead foot. The trail foot can be placed slightly in back for balance, but the goal is to practice putting with 100% pressure in the lead foot. Start taking practice swings. The difficulty will generally arise from trying to keep the center of the body nice and steady.
This drill helps golfers feel where their body starts to fall away from being centered over the golf ball. If the golfer is not aligned over the golf ball, the body will start to shift to one side or the other.
I explain how to putt and do this drill more, in this video:
Gate Drill for Putting
This putting drill focuses on making puts with break in them.
Making putts with break in them requires precision, and knowing where the ball will enter the cup is a big factor in understanding the path of the ball. In a perfect world, golfers would only face straight, easy putts, but the reality is that these types of putts seldom occur on the golf course. More likely, the ball will not roll on a straight line from the starting point to the cup. This drill helps golfers visualize the path of the golf ball and practice putting with a break.
To perform this drill, take two tees and put them down right at the base of the cup. They should be placed in such a way that they are centered with where the ball is going to enter the cup from the angle that the ball will arc into the hole. This drill helps golfers start to see how the break operates as they practice their putts.
The video below helps explain:
For more on the Gate Drill, click here.
The 40-50-60 Drill
This drill focuses on something called “lag putting.”
A lag putt is generally defined as a long putt which is difficult to make into the hole. The focus on long putts is getting the ball close, not necessarily making the shot.
Set up three golf balls at each of the three stations: three golf balls at 40 feet from the hole, three golf balls at 50 feet from the hole, and three golf balls at 60 feet from the hole. Try to keep everything about the swing constant and focus on only one variable (usually power through the putt at different distances).
Practice putting from these distances to develop a feel for the variations in power through the ball.
Take tips from one of the best golfers in history on how to putt:
Most important skill to learn as a kid! Lag putting us a must. #605 #seperatesplayers pic.twitter.com/PKjRmkrpdG
— Todd Kolb (@toddkolbgolf) September 14, 2014
Ruler Drill
Other Styles of Putting
How do you make your left hand putt low? Putting with a cross-handed grip is another way to approach putting. This is sometimes called “Left Hand Low.”
The reason many golfers like this style is because it helps to naturally level out the shoulders. In a standard putting grip, the right hand is significantly lower than the left hand. And that naturally causes the right shoulder to lower. Remember, one of the key components to becoming a good putter is keeping the shoulders nice and level.
The cross-handed grip simply means taking the lead hand (the left hand for right-handed golfers) and placing it lower down on the club shaft. This levels out the shoulders and it allows the body to swing the putter in a true pendulum motion. This setup also keeps the left wrist nice and firm, which also is a key component in consistent, solid putting shots.
Reading the Greens
Reading the green is an important component to hitting good putts because each green is distinctive and has its own challenges. Golfers can practice putting on the practice green for hours and still run into difficulty on the course because they did not consider reading the green.
When approaching the green, make observations about where the slopes are: the high points, low points, banks on the sides of the green, etc. Once approaching the golf ball, try to find the “straight putt.” This simply means finding the putt that has no break. A straight putt will cause the ball to either move straight up or straight down a hill. A team with some great information on this can be found here.
Because putts break toward the straight putt, try to judge where the ball will likely break toward. If the ball is currently situated left of the straight putt, the ball will break right. If it is situated to the right of a straight putt, it will break left. Understanding this helps golfers hit accurate putts. Take into account the speed of the greens: is the ground firm or soft? How short is the grass? The last thing to think about is the true center of the cup.
Generally, this will not be as simple as being the straight line from the ball to the cup. It is important to take into account the break in the green in order to identify where that true center is. All these are factors to consider while hitting putts on the golf course.
Best Putting Training Aids
There are a lot of great putting training aids, but here are some we use on a regular basis.
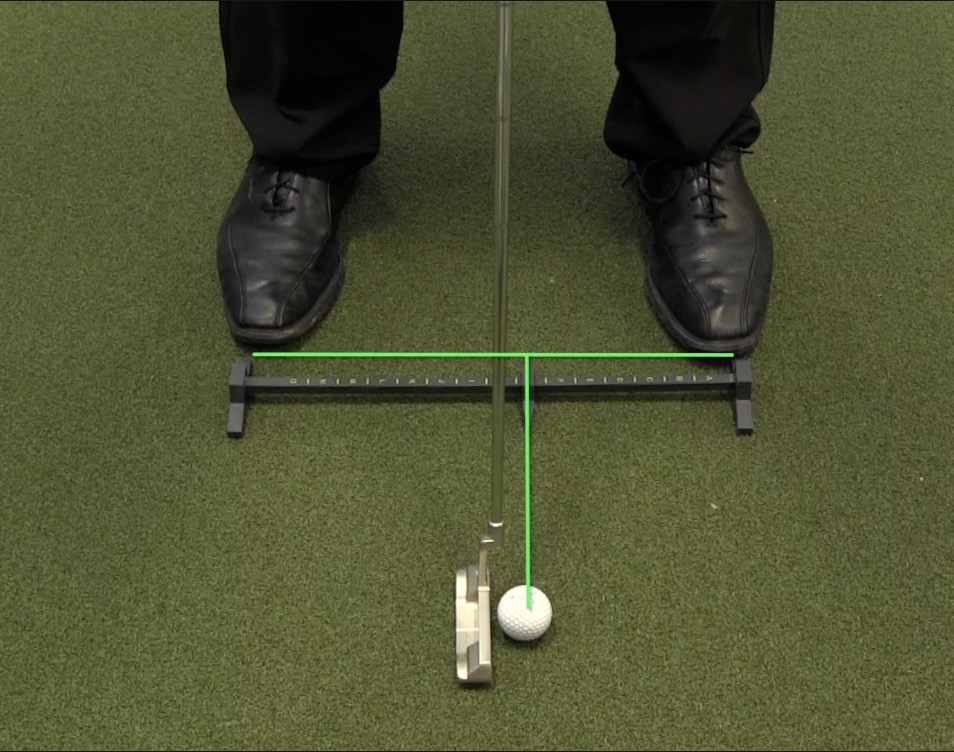
Rimer Short Game Trainer – Carsley Golf

Ball position, stance width, alignment. 3 major overlooked factors when putting, all addressed with the same training aid. The Rimer is portable, convenient, and works in a number of great ways. (And you can use it for these skills with any club in your bag).
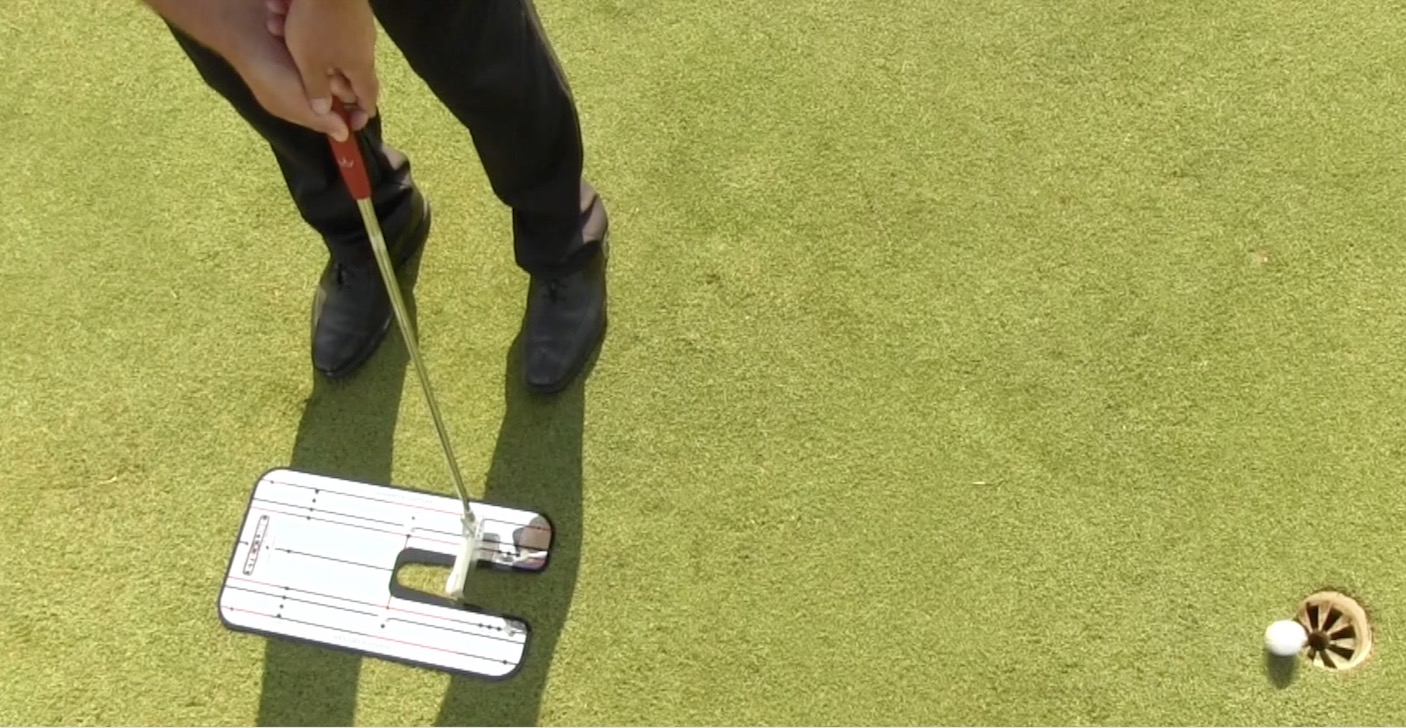
Eyeline Putting Mirror – Eyeline Golf
Another great tool for alignment and setup, the Eyeline Putting Mirror can help you roll the rock with more confidence. The added slots for tees allows you to work on things like putter path as well.

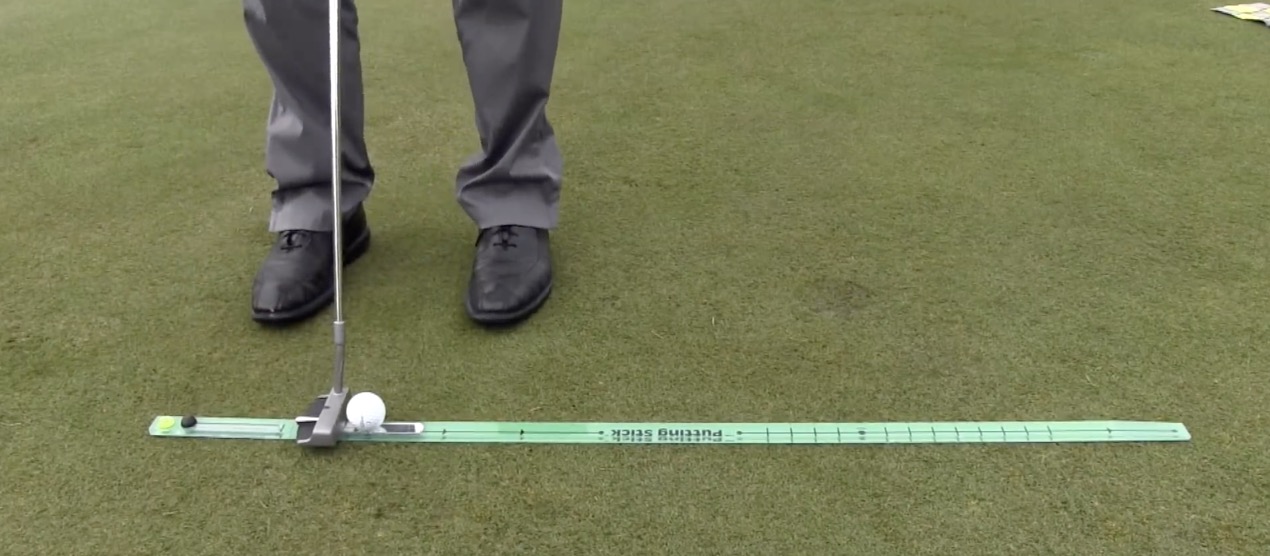
The Putting Stick
As we mentioned before, the most important putting skill is face control. This simple Putting Stick is great for starting the ball on the right line and getting your face control dialed in.

Thoughts or Questions?
Whether it’s a great tip I haven’t mentioned or a question about your own game, We’re always happy to talk golf. Let us know if you have a putting drill or tip we may not have covered. When it comes to putting, there is always room for more knowledge!
And be sure to follow us Facebook, Twitter and Instagram for product reviews, great golf tips, and information on new brands. For helpful video tips, subscribe to our YouTube channel!
Also visit us at GreatGolfTipsNow.com for more tricks and insight on all aspects of the game. We’re always here to help you play better golf.


So helpful. I learned more of the ‘pressure distribution’ on legs. Thanks for this post!
Absolutely! This message will be passed along to Todd Kolb. So glad it helped, keep working on the distribution of pressure and you’ll keep improving.
— Troy
Help. I’ve had three putting lessons from different pros in the last decade (One is a Golf Digest top rated state teaching pro). My main struggles have been inconsistent stroke path & distance control. In the last decade, I’ve had the long putter, a heavily weighted counterbalanced standard putter, & my current putter is a custom fit Scotty Cameron 35” mallet..
Grips used for at least a season include a neutral grip arms free of the body; left hand low & my current neutral position, right thumb off the grip, the wrists locked down & elbows touching
my torso.
Stroke mechanics have been shoulder activated pendulum (horrible inconsistencies; miss cup by 4’-10’ not uncommon) & current exclusive left arm controlling (3’-5’ misses common).
The misses, regardless of technique, can be directional (left & right); distance (short or long) as well as directional & distance errors.
Any help & suggestions would be appreciated., including attending multi day clinics (I’ve done the Pelz short game). My email says it all.
Greg, sorry for the delayed response and your frustration with putting….take a look at this video, it will help https://youtu.be/aZopXrrwvAs