Fix Golf Slice with These Simple Practice Drills
Still Struggling with the Golf Slice? Discover the Source of Your Problem and Finally Hit Nice, High Draws with These Little-Known Drills.
If you’re reading this, it’s because that nasty golf slice is still plaguing your game. No matter how many tips and tricks you try, you can’t figure out how to draw the ball consistently. You’re racking up strokes and you’re losing patience.
Well, it’s not just you. Countless golfers struggle with the slice. And their greatest challenge isn’t even mastering their swing. It’s overcoming bad information.
There is a lot of information out there regarding the golf slice. You can find thousands of videos and articles offering solutions for fixing your backswing or buying better clubs. But I can tell you, most of the advice you find is outdated and incorrect. And running drills over and over won’t help if they’re the wrong drills.
If you’re ever going to stop slicing the golf ball, you need better information and more effective practice exercises, be it block or random.
I’ve got both for you right here.
How to Stop Slicing Your Drives
We all know about the health benefits of golf. But it’s hard to tap into those benefits when your blood pressure shoots through the roof after your fifth driver slice this round.
This is a nightmare that plagues many golfers’ games. When your shot off the tee veers way off course, it can kill your mood for the entire hole.
And a lot of golfers fail to overcome this issue because they never address the right problem.
Common Misconceptions About Slicing the Drive
Have you ever heard that certain types of golf balls keep you from slicing?
It’s just not true. Yes, you can give yourself a minor edge on your drives by choosing balls that travel farther down the fairway. There are also golf balls designed for better touch and feel around the green. But there is no golf ball that will fix your slice.
Have you tried upgrading your equipment?
Every golfer knows the temptation of trying to buy a better golf game. We go out in search of the newest and greatest equipment, hoping it will magically enhance our swing speed or accuracy.
Now, it’s true that a new club with a certain design or weighting could help minimize your slice problem. But it’s won’t eliminate it. That’s because good equipment can only mask the slice. It doesn’t repair the root issue.
What about strengthening your grip?
I would bet that at some point, a buddy of yours has told you to try a stronger grip. Many golfers go to this tip for a quick fix.
Once again, a stronger grip might help your shot in the short run, but it’s just a band-aid. You’re slicing for a reason, and the reason is not that your grip is too weak.
If you want to genuinely hit better shots and stop slicing your driver, you have to realize what’s really going on.
Why You Slice Your Driver
Let’s go back to this key idea:
You slice your driver more than your irons.
Therefore, you need to look at the difference between these two shots in order to find the issue. And what’s the difference?
Well, you hit down on your irons and you hit up on your driver.
We have a more in-depth analysis of why you slice your driver, but to summarize:
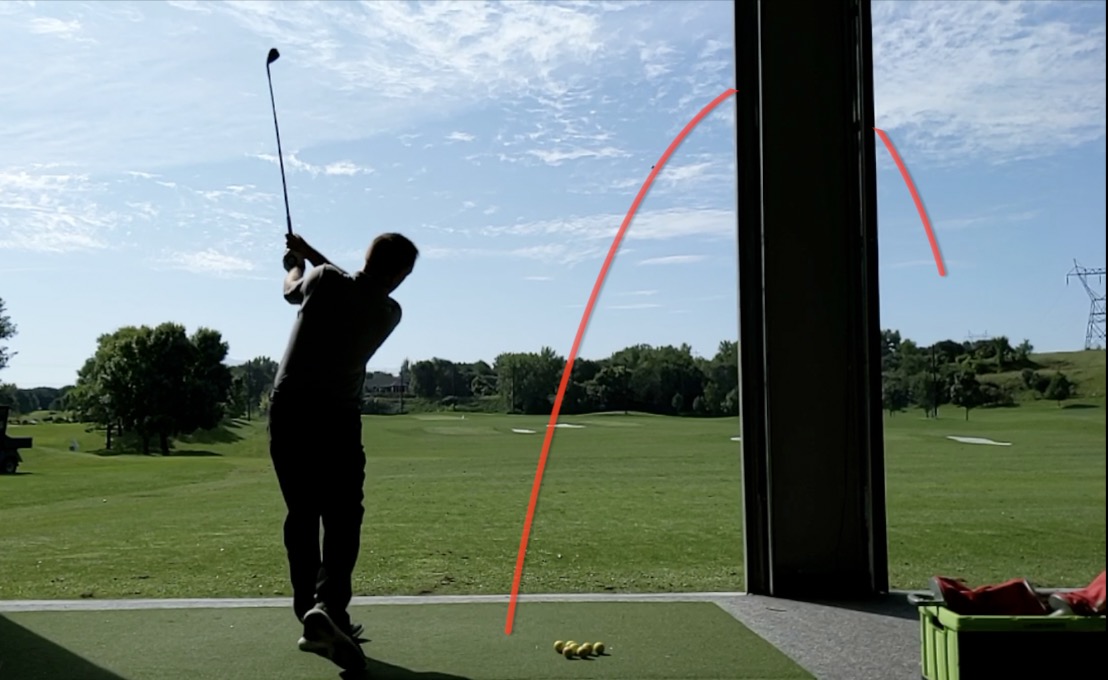
Think of the natural shape of your golf swing. On the descent, your clubhead travels slightly to the right (if you’re right-handed). As it travels back upward, the clubhead travels slightly to the left.

Because you hit your driver on the ascent, your clubhead is traveling slightly left at impact. That’s the detail that keeps tripping you up.
How to Fix It
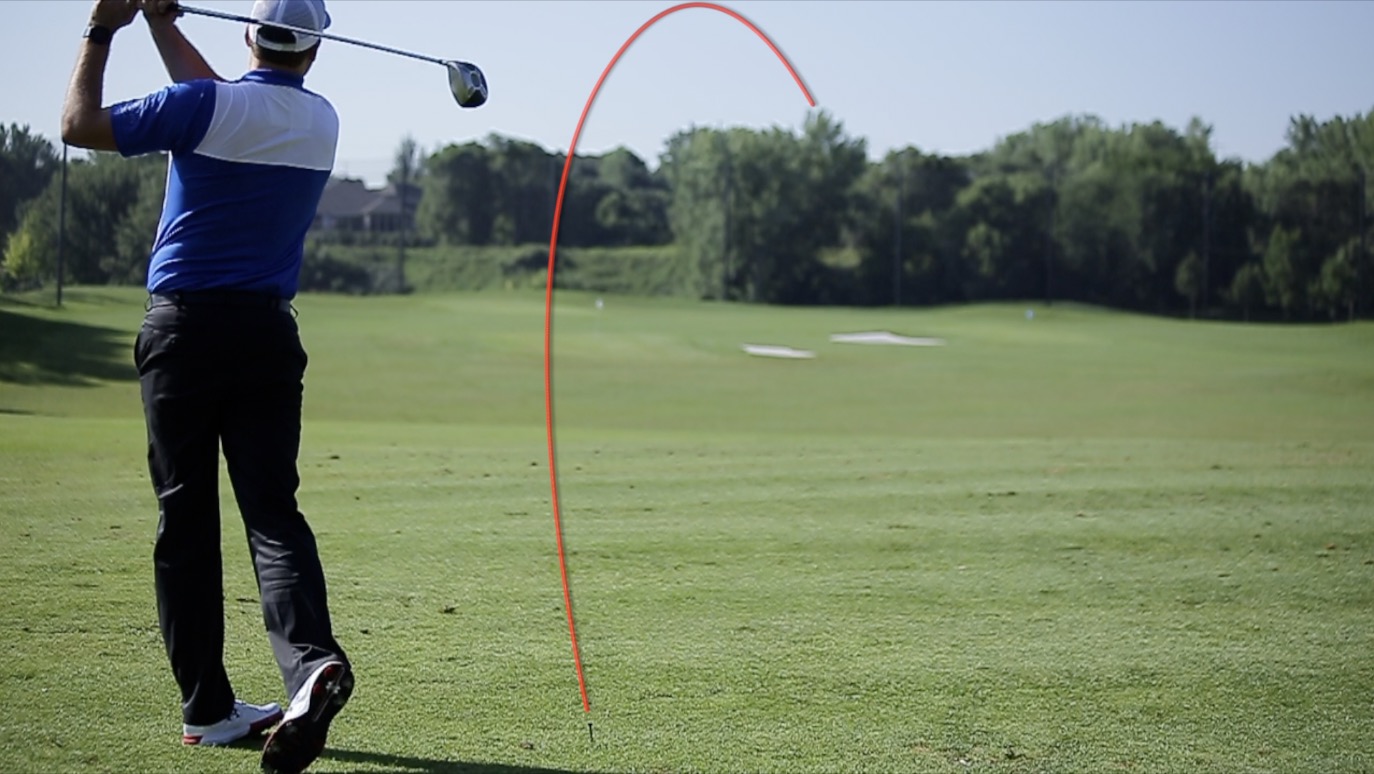
In order to hit a nice, high draw, you want to aim your club path and club face as follows:
- The path should be aimed approximately 4 degrees to the right of the target.
- The club face should be either square to the target or 1-3 degrees to the right.
It’s the path that screws you up on those drives, because the path naturally moves left as the clubhead ascends. There are a lot of practical adjustments you can make and drills you can try to fix this problem.
Let’s dig in.
Benefits of Practicing Different Drills to Fix Your Golf Slice
Now, I cannot give you a single, silver bullet solution for getting rid of your golf slice. The truth is, I can have three different students slicing the ball for three completely different reasons.
If you really want to fix your slice, you need to try a variety of adjustments and drills to help determine exactly where your problem lies.

Most likely, it’s in one of these three areas.
Problem Area #1: The Setup
When there’s a weakness in our game, the first place we tend to look is the golf swing. But it’s entirely possible that your swing is fine. The problem might be your setup.
You know you have a bad setup if it includes any of the following:
- Your feet, body, and hips are aimed to the left of the target.
- Your trail arm is higher than your lead arm.
- You put more weight on your trail foot than on your lead foot.
If your setup looks like that, you’re going to slice the ball no matter how great your swing is.
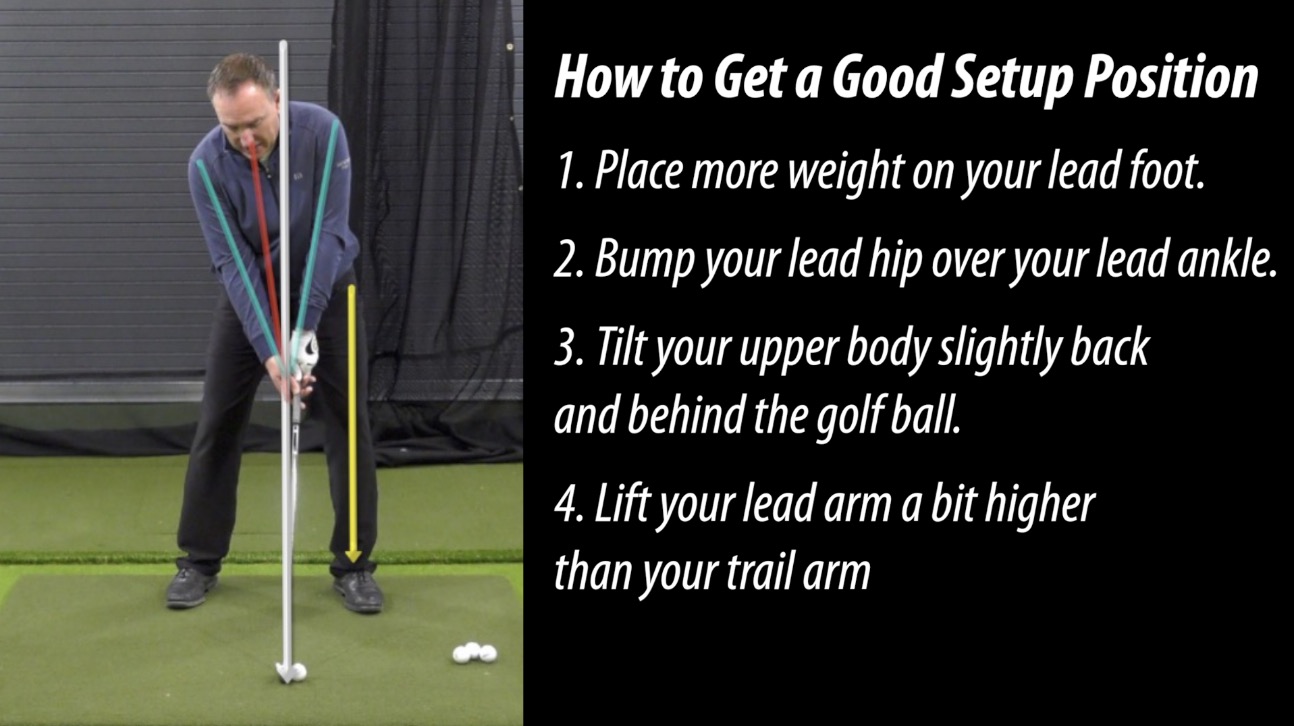
Now, here’s the fix:
- Place more weight on your lead foot. (A 60/40 distribution is about right.)
- Bump your lead hip over your lead ankle. The trail hip should be just inside the trail ankle.
- Tilt your upper body slightly back and behind the golf ball.
- Lift your lead arm a bit higher than your trail arm.
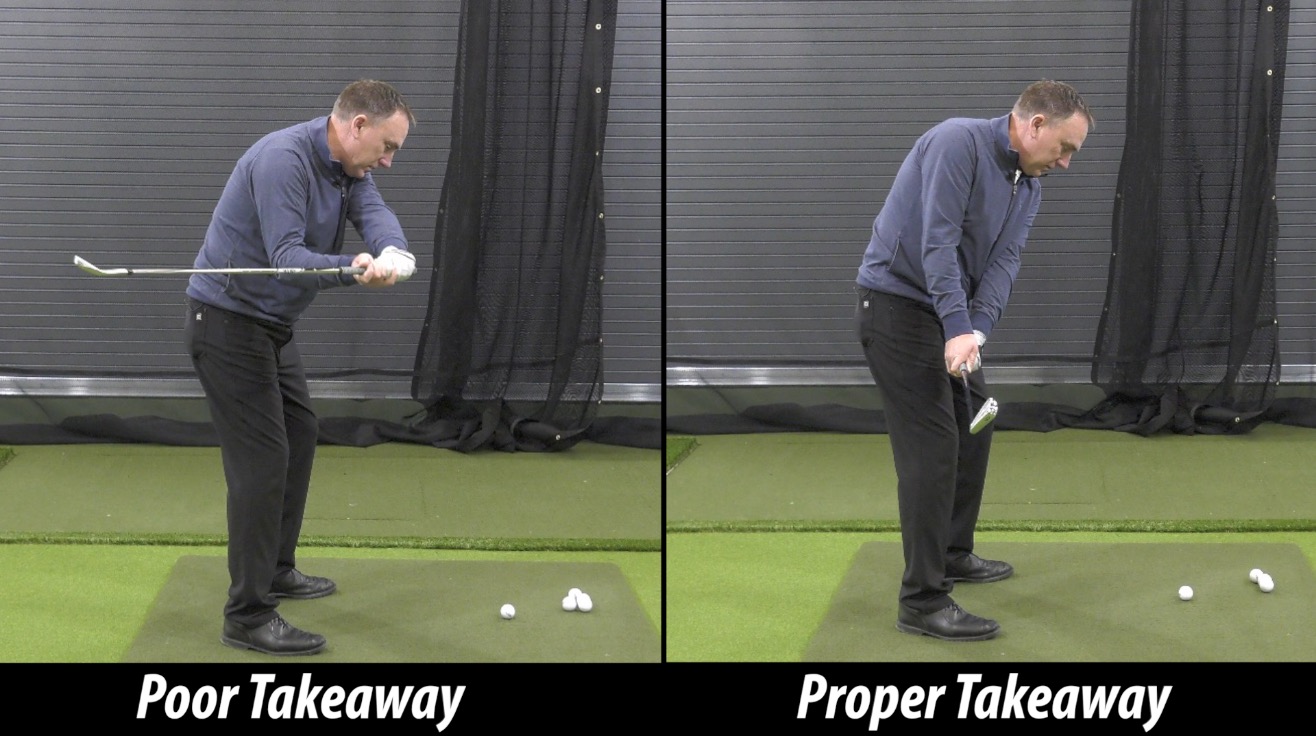
Problem Area #2: The Takeaway
You’ll know your problem is in the takeaway if:
- Your lead arm tends to rotate and work away from your body.
- The club works to the inside and around your body, opening the club face.
No, this takeaway motion doesn’t guarantee a golf slice, but it puts you in a compromising position that significantly increases your odds of slicing it.
Here’s your fix:
- As you swing back, rotate the logo on your golf glove towards the ground.
- Let the lead arm work into the chest.
- Make sure the club face stays square.
Problem Area #3: The Transition
This is the most elusive problem to catch and fix. The transition happens so quickly. And if you stop at the top of your swing to think it through, you’ve already ruined the shot.
That’s okay. I’ve got a practice drill that will help you. But first, let’s clarify the problem.
On a bad transition:
- Your arms move through the transition first.
- You work the club out and across the body.
Now, instead of giving you a checklist you can’t possibly think about mid-transition, here’s a swing drill to help you get it right.
Step Swing Drill
- Take your set up with a 6-iron or 7-iron.
- Stand with your feet together.
- Step the lead foot forward as you swing back.
- Swing through and hit the ball.
Believe it or not, the simple counter motion of stepping forward as you swing back improves your transition. It helps you get the club swinging from the inside and ultimately reduces your risk of slicing the ball. This is also a great drill to do with your driver.
![]()
Once you’ve evaluated these three elements of your driver and iron shots, you’ll have a better idea of where your problem is. But don’t stop there. I have more practice drill and tips to help you stop slicing once and for all.
How to Practice the Drills
In order to get the best out of your practice time, you need to know:
- What you should be practicing
- What you need in order to practice
- A routine for how often and how long you should run these swing drills
Let’s take a look at these details one-by-one.
But before we do, let’s remind our viewers that we have a training program called Tour Draw that can help you fix that slice once and for all!
What Should You Practice in Order to Fix Your Golf Slice?
By now you should know if you need to work on your setup, takeaway, or transition. But that isn’t enough.
You also need to know if your slicing problem is an iron issue or a driver issue.
It may be both. But know for sure before you get started, because these two different shots call for two different practice drills.
Most people struggle with their driver shots more. It’s just a little too easy to slice the ball when you’re hitting up on it. You can learn more about this in our free ebook, Science of the Slice.

What Do You Need in Order to Practice?
It really depends on the drill. For some drills, you might need additional training aids or props. For others, you only need a golf club. You may not even need a ball.
For the practice exercises I’m sharing, you need a golf club (driver or iron) and a golf ball. That’s it.
How Much Should You Practice?
The answer to this question depends on the time you have available and the needs of your game. The more you run drills, the faster you build new and better habits.
What matters more is that you grasp the importance of practice. When you put in extra time to improve your game—no matter how much or how little time you can spare—you will get better.
Many people think they need to book a few practice sessions with a professional golf instructor if they ever want to make real progress. Obviously, I’m a huge proponent of formal golf lessons. I’ve seen them benefit countless players.
But if that simply isn’t an option for you, carve out time for your own self-led practice sessions. Use the drills I’m about to share and check out these tips for improving without golf lessons.
Best Drills to Fix Your Golf Slice
Okay, here are my favorite drills for conquering the slice and consistently hitting nice, high draws.
The Counter Aim Drill (For Iron Shots)
I call this drill the Counter Aim Drill because it requires you to aim your club face and body in two opposite directions. It’s a little counter-intuitive. But it works.
The following instructions apply to right-handed golfers. If you’re left-handed, simply reverse the directions.
- Take your set with a 6-iron.
- Aim the clubface at the target.
- Aim your feet, hips, and shoulders slightly to the right of the target.
- Take your golf shot.
This works because we’re more prone to swing the club the direction of our body aim. The clubface stays square, but the club path aims slightly right for a nice draw.
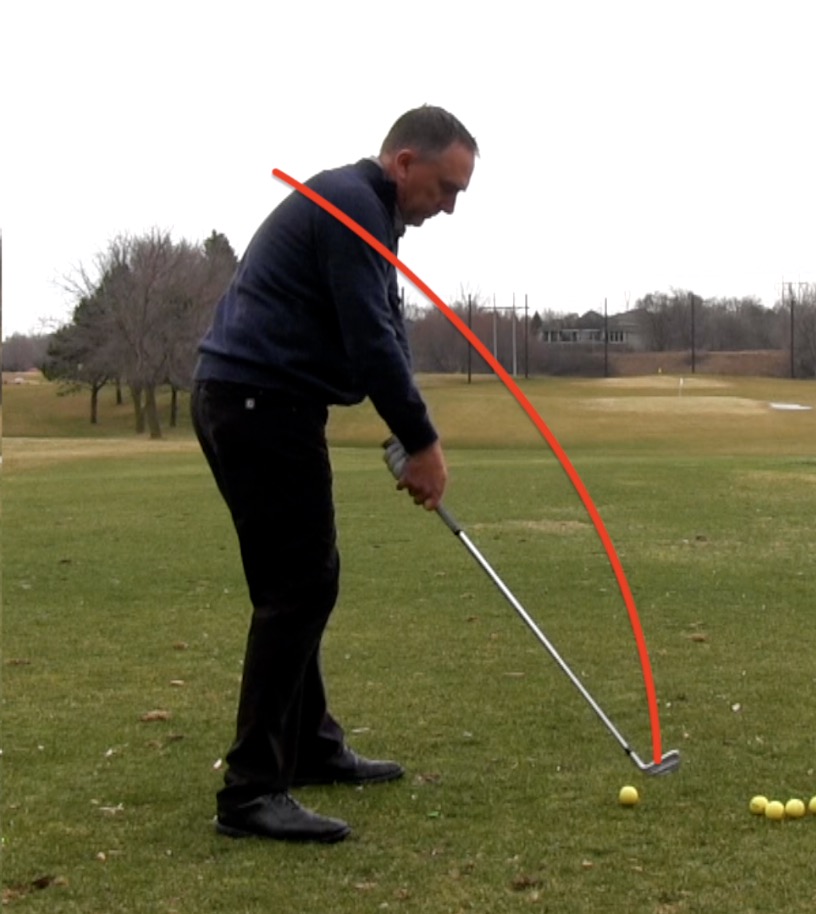
The TV Drill (For Drives)
There’s a chance this one may not work for you as well as for others. But I see about 98% of my golfers find success with this one. Again, these directions refer to right-handed golfers.
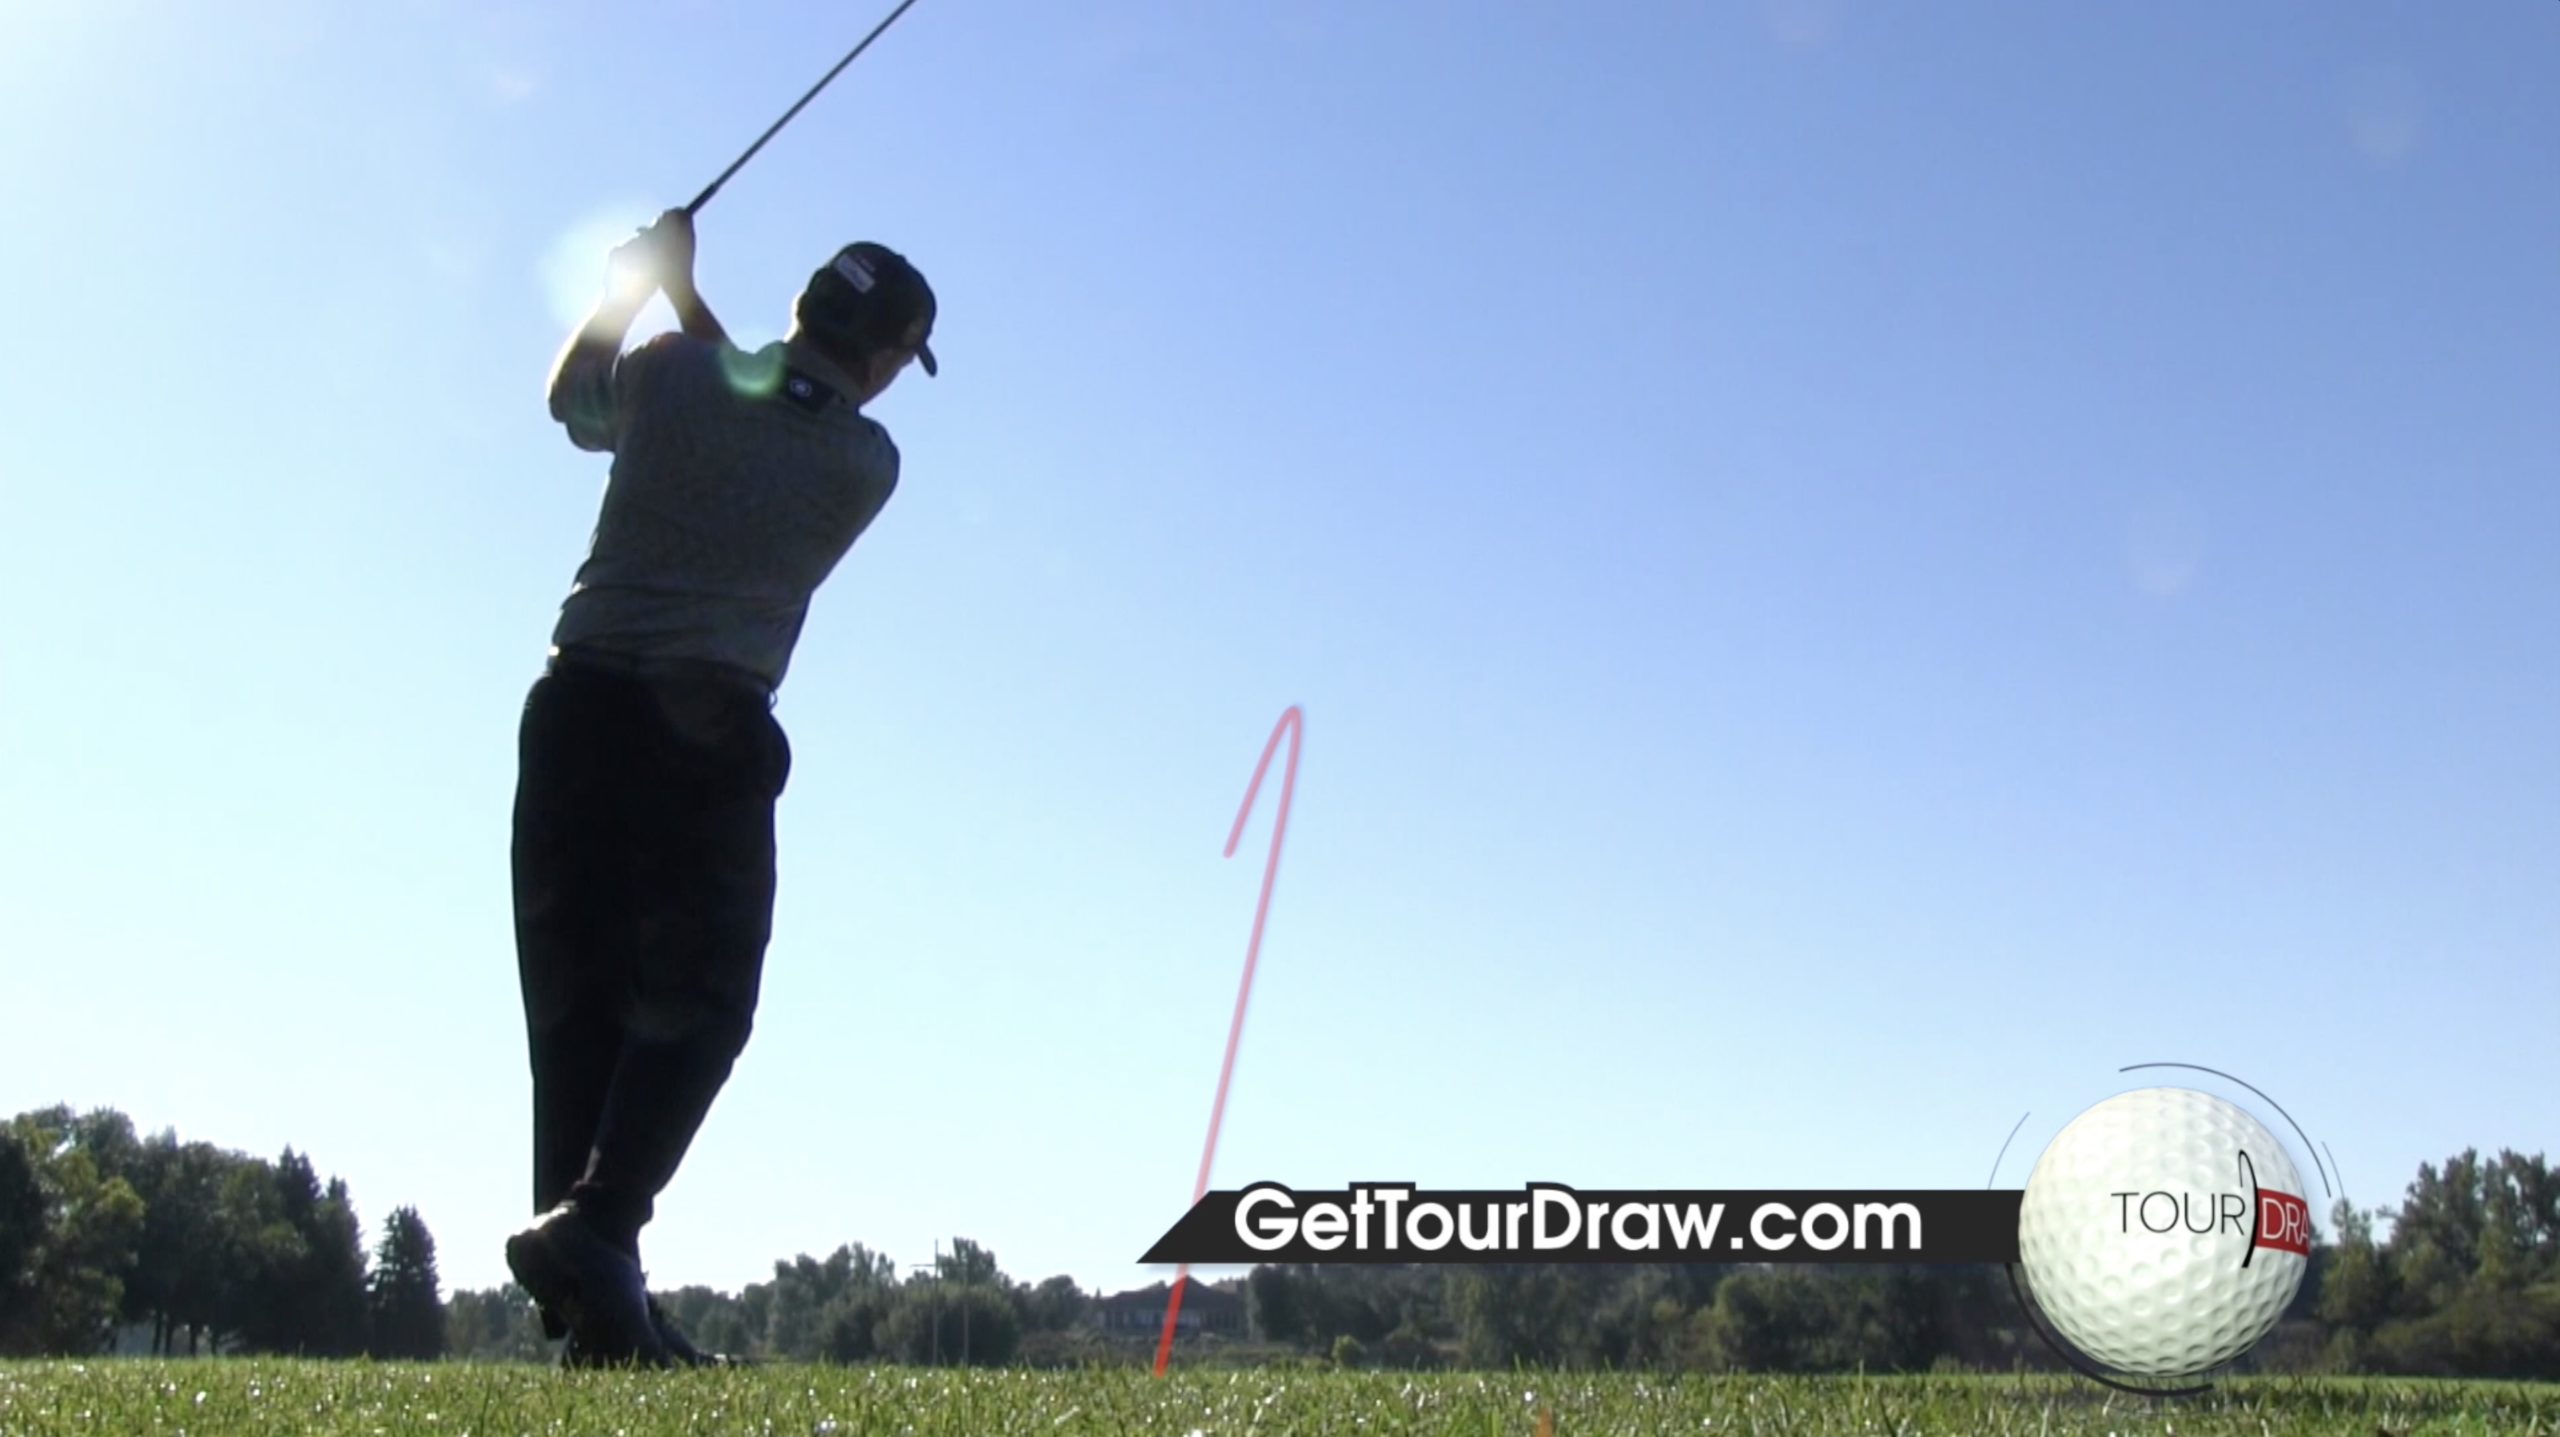
The idea is simple. When you finish your shot, you want the butt end of your club pointing at a spot out and to the right of the target line.
Here’s how it goes:
- Take your regular setup.
- Swing back.
- Swing through.
- Finish with your hands high and the butt end of the club pointing to the right of the target line.
It may seem too basic to work. But when you think about getting your hands up and rotating the club so the butt end points to the right, you shift the angle at which the clubhead comes into the ball. The club path works to the right and the club face is square to the target.
The result is a beautiful draw.
It may take some time to figure out why you slice the ball. But once you do the work, you have a clear path forward. Run the drills that are relevant to your practice. Do these exercises regularly. And get ready to say goodbye to that horrific golf slice.
Has this advice been helpful? Let us know in the comments! We love hearing from you. Chime in anytime with your thoughts, questions, and even a difference of opinion.
For more in-depth golf tips, visit us at GreatGolfTipsNow.com. This is completely free and packed with detailed advice to help you play better golf!