How to Aim Irons for Guidance and Practice Drills
How to Aim Irons – Nailing Down the Basics for Deadly Accuracy on the Golf Course
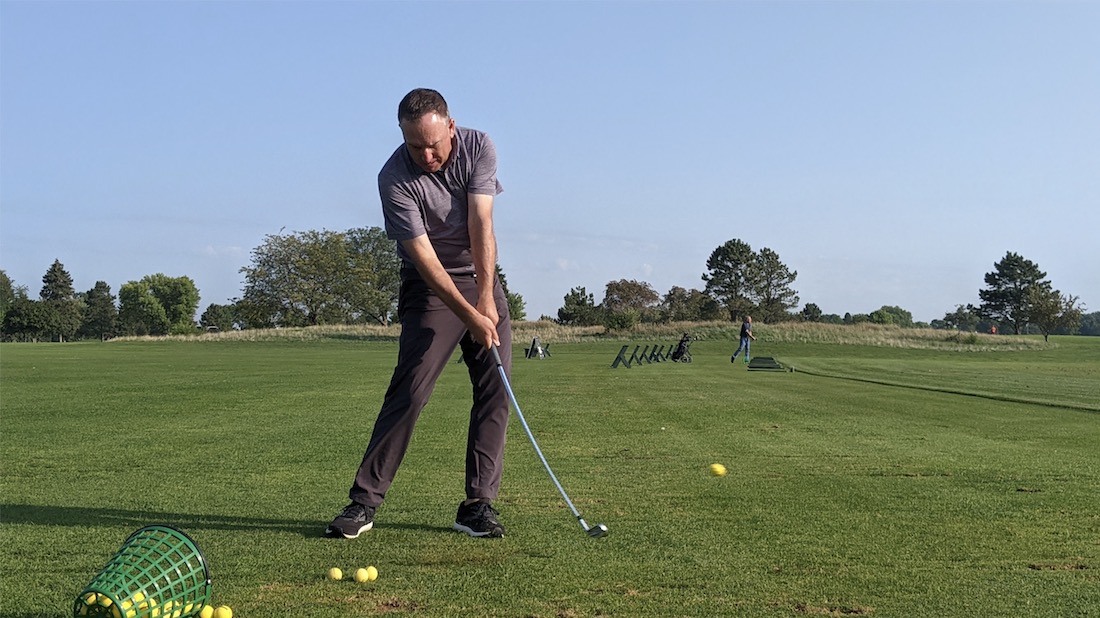
We’ve all been there: You hit an outstanding drive off the tee and land yourself with good position on the fairway…only to squander it all with a bad iron shot.
Some golfers have a dynamite drive and a good putting game, but never figure out how to hit irons. It begs the question: What is it about iron play that is so challenging?
Here’s the thing: If you can hit a driver, you can hit an iron. You have everything you need to be a terrific, consistent golfer all the way from the tee box to the green. The problem is that the shape of the club face on an iron sometimes makes it hard to aim.
Are you missing greens with your fairway shots? Are your shots repeatedly going right or left of the target? With these issues, many golfers start blaming their swings. In truth, though, the problem probably isn’t your swing; it’s your aim.
The good news is that learning how to aim irons correctly isn’t as difficult as many golfers think. In this post, we’re going to talk about the strategy I use with my students to help them aim more accurate iron shots, every single time.
The Common Mistake
The issue that many golfers have out in the fairway? They simply don’t take their time setting up their iron shots.
Instead, iron shots tend to be rushed. You spot your ball in the fairway, roll up in the golf cart, grab an iron out of your bag, look at the hole, take a few practice swings, and then hit the ball.
There are benefits to not overthinking your shots, of course. Pace of play matters! But don’t speed up your pace at the expense of your accuracy. After all, there’s nothing that will make for a faster round of 18 than turning your bogeys into birdies.
If you aren’t hitting your greens in regulation, there’s a good chance that aim is your problem. Iron shots can go awry even with a good swing and nice, solid contact with the ball.
So, what’s the key to mastering How to Aim Irons?
The most important part of aiming your irons is aligning the club face properly. How come? Because it’s the club face that hits the golf ball. Your feet do not hit the golf ball. Your hips do not hit the golf ball. Your shoulders do not hit the golf ball. The club hits the golf ball.
The problem with most golfers is that the club face is the one thing they forget to aim. They might even take a moment getting their feet, legs, and shoulders into proper positioning.
But if you aren’t aiming the club face, even a note-perfect golf stance isn’t going to convert reliably into great fairway shots. Sure, you might hit a green here and there. But if you want to hit the green in regulation every time, you need to add that club-aiming step into the equation.
How to Get a Square Club Face
So, how do you get a good, straight, square club face setup that will get you to those greens in regulation more often?
The answer is simple: Take a moment to actually aim your club.
Many, many golfers, when they go to take their iron shots, just drop the club to the ball immediately and take a swing. Instead of doing that, take your iron and point it out in front of you, almost like you’re preparing for a sword fight. This angle will give you a good vantage point to see the club face. Specifically, you will be able to see exactly where the leading edge is on the club.
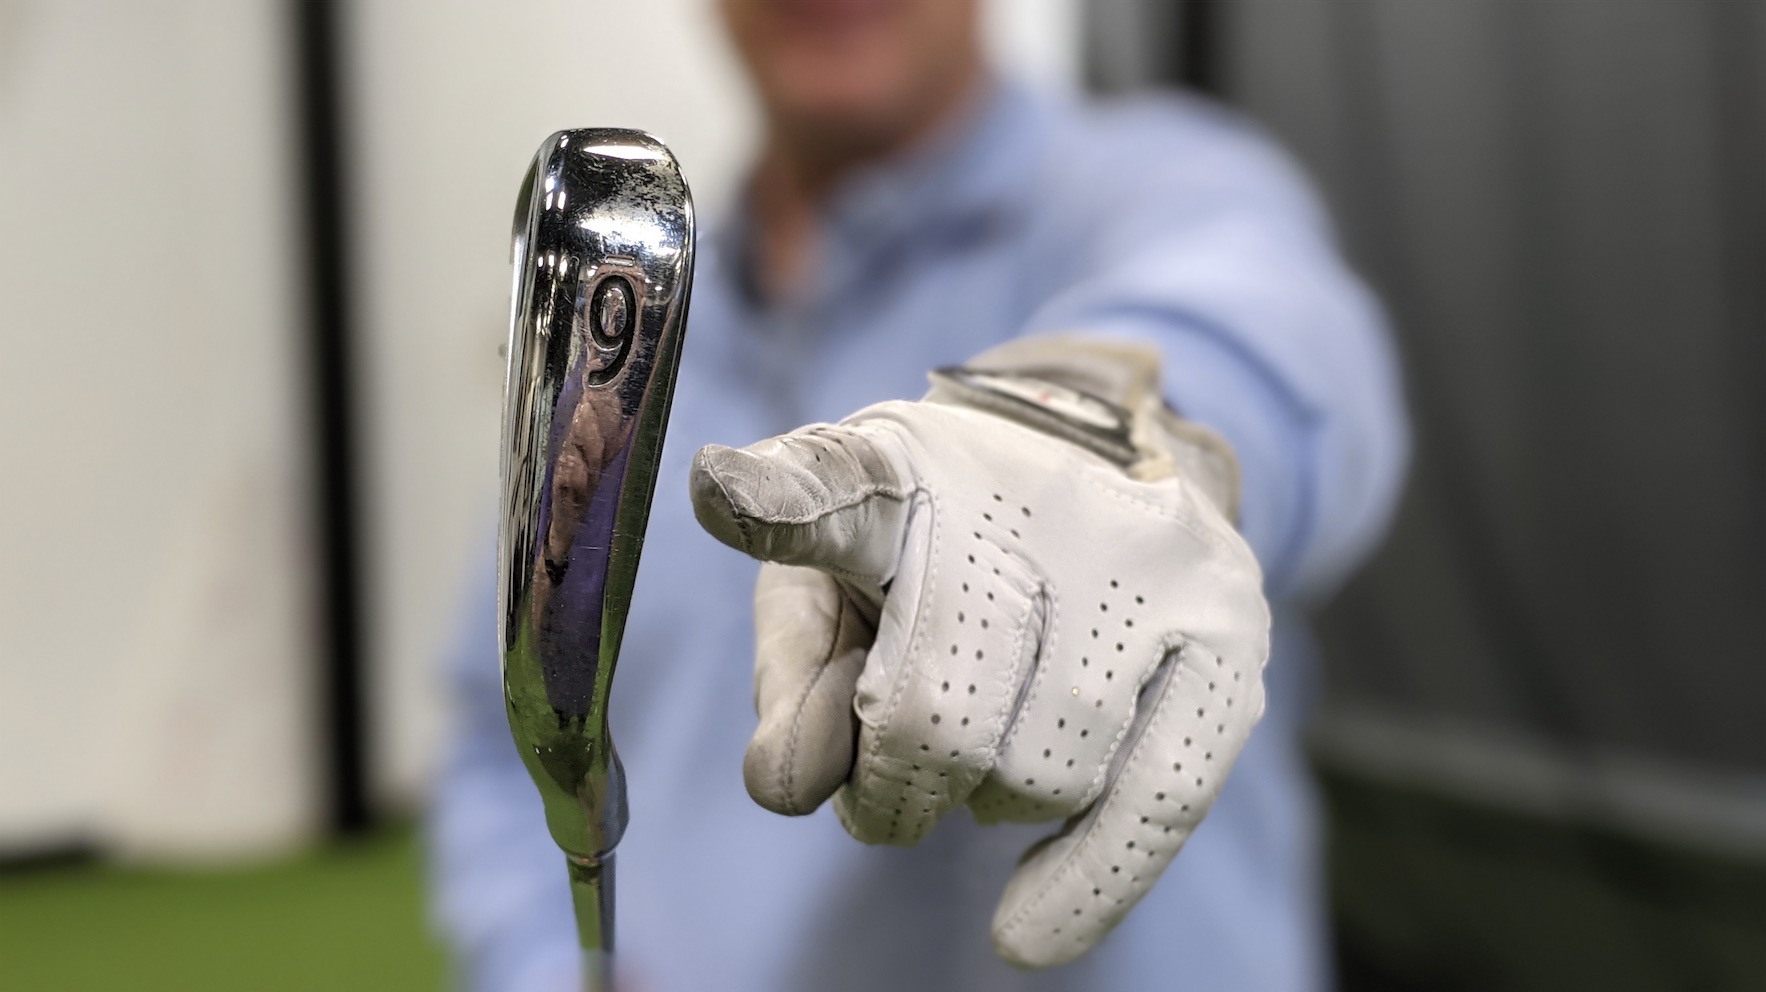
The leading edge is the most important component to consider when aiming an iron. When you have an iron shot that goes awry, it’s usually because the leading edge is angled either right or left of where you’re trying to hit the ball.
Taking a moment to look at the leading edge will allow you to see whether or not you’re holding the club crooked. As you are holding the club out in front of you, you want to make sure that the leading edge has a nice, straight, up-and-down line.
If you’re having trouble seeing for sure, try closing one of your eyes so that you can see the leading edge more clearly.
Golf Setup
Once the club is straight, you can move into the rest of your golf setup.
Before you even drop the club and start getting in swing position, though, get your lead hand and trail hand on the club. Grip the club as you would if you were about to take a swing. Then, check the leading edge one more time to make sure it’s still straight.
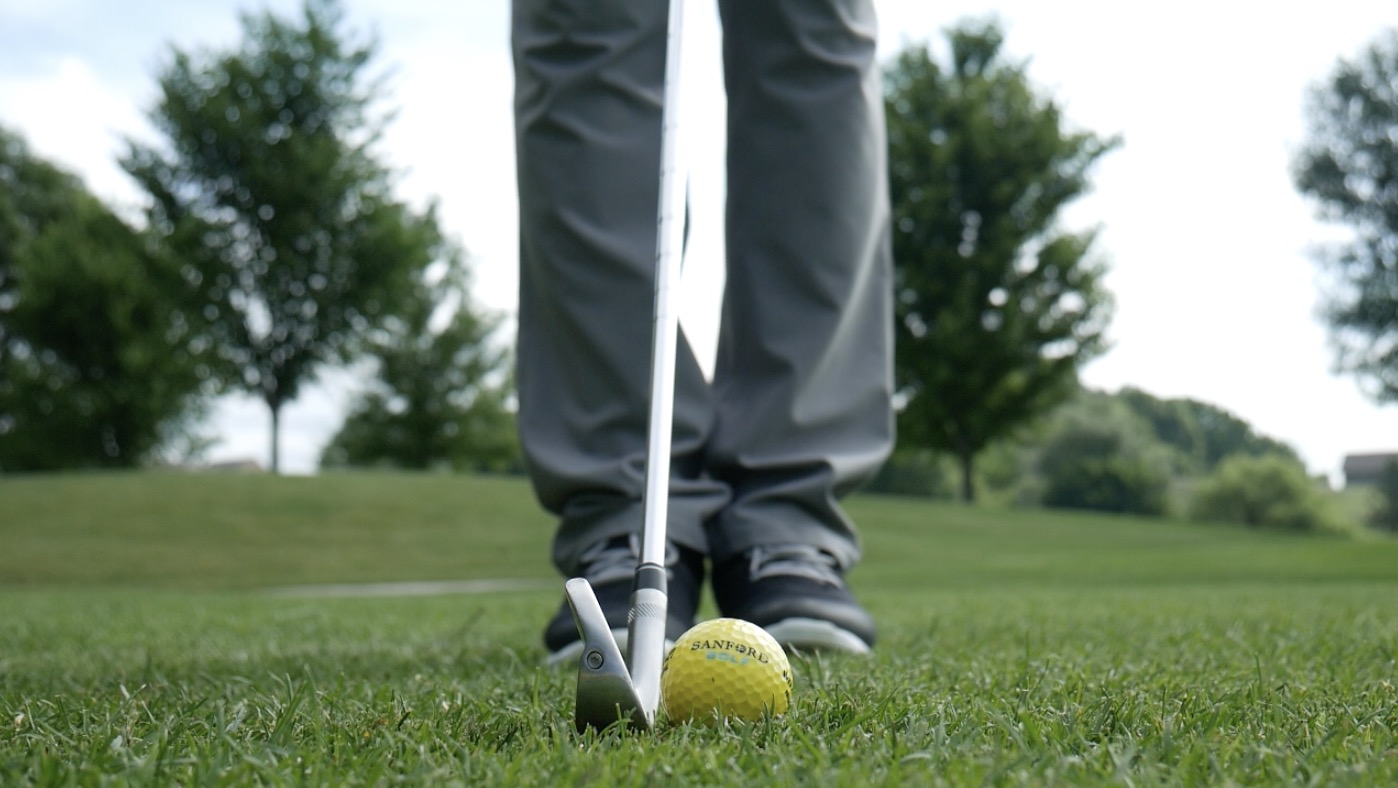
Next, you want to lower the club and put the club face right behind the ball. Again, take care to keep that leading edge straight. Ideally, this maneuver will create a 90-degree angle between the ball and the club, giving you a nice and square setup.
I said before that your feet, hips, and shoulders don’t hit the golf ball. That’s true, but they still matter for getting a good swing – even with a straight club face.
Proper Golf Stance
Let’s start with the feet. I see a lot of golfers step immediately into the feet-shoulder-width-apart stance when preparing to hit an iron shot. That’s not necessarily bad: You at least want to end up in that stance.
The problem is that a lot of people don’t realize that their feet are actually off balance. One foot might be slightly in front of the other. Alternatively, you might not have an equal distance between each foot and the ball.
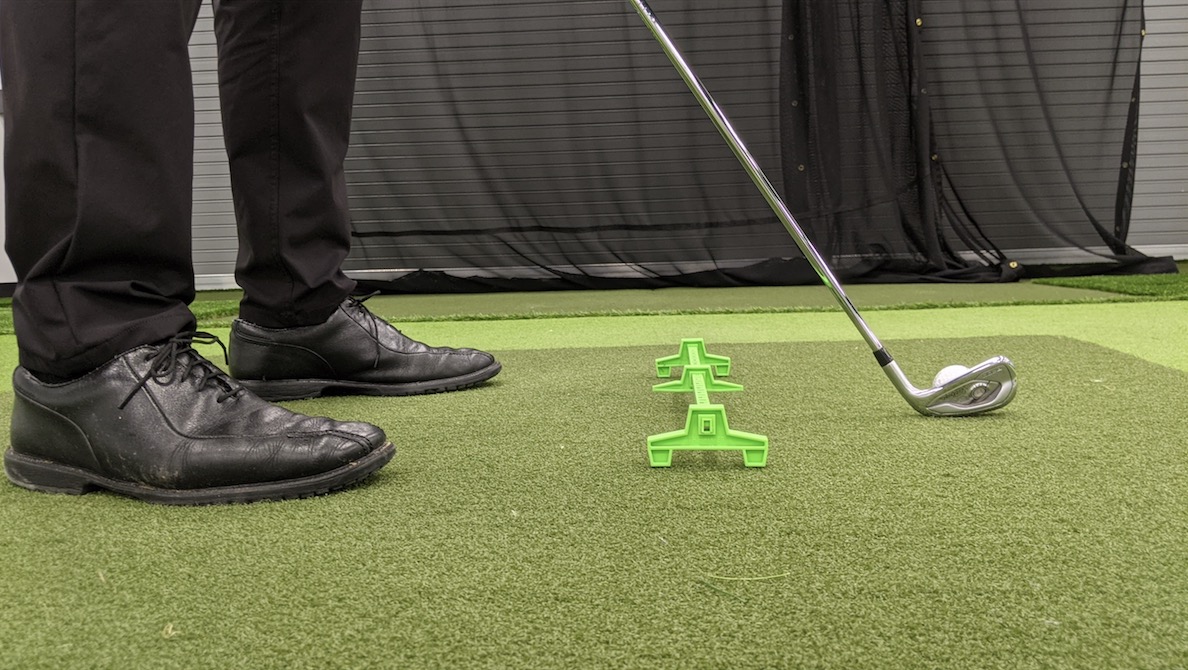
To improve your foot stance, start your setup with your feet close together. With your feet side by side, rather than shoulder width apart, it’s easier to see that you are creating a nice straight line with your feet.
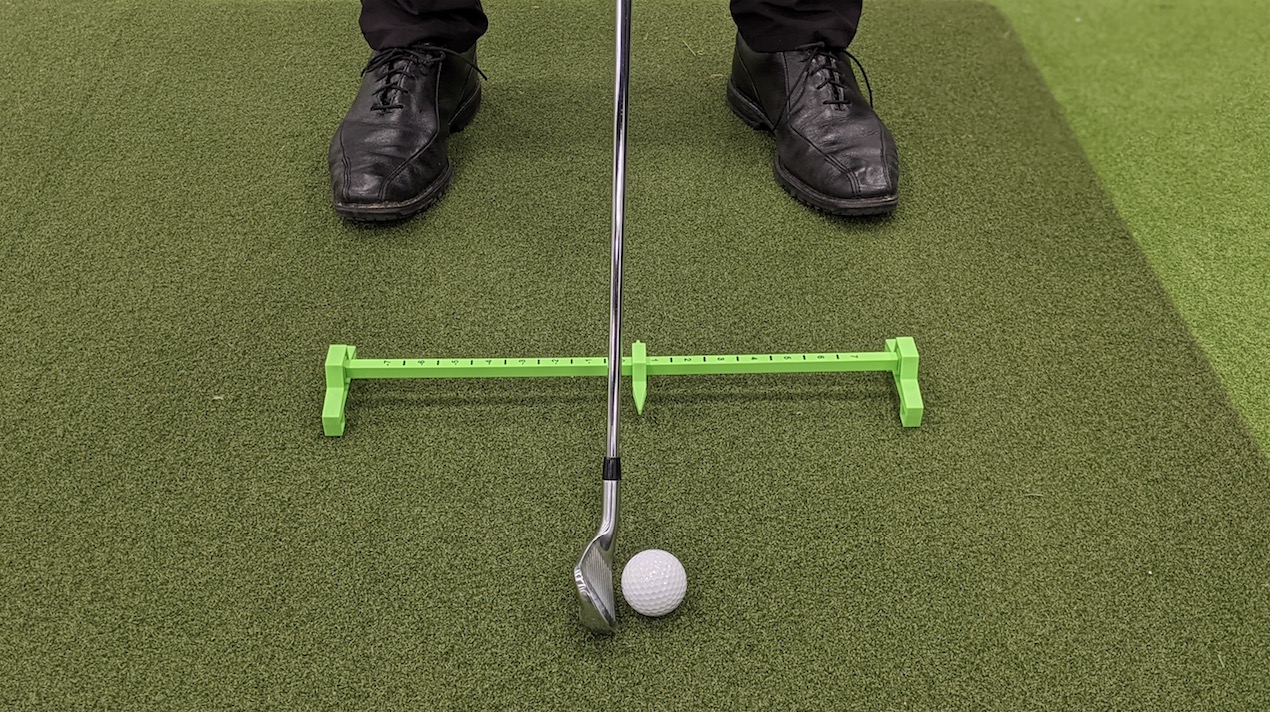
When students struggle with this part of the setup process, I often recommend the Rimer Ball Position Trainer. The Rimer is an awesome tool for lining up your feet and centering yourself over the ball. It makes it easier to set up straight lines across the board with your shot.
From your feet to the ball; down the club to the club face; out along the leading edge; between the club face and the ball: all these lines should be straight and square. The Rimer helps get you into position for a solid flush hit.
How to Aim
Once you’re confident you have a straight and well-centered setup, move your lead foot toward the target and your trail foot away. Put yourself into that feet-shoulder-width-apart stance, while taking care to keep everything nice and square. You should end up with each foot an equal distance from center, and with the ball right in the middle of your setup.
The final piece of the puzzle is your head. Up until now, you’ve probably been looking down at your feet, at the club face, and at the ball, assessing all those straight lines. Once the lines are straight, though, you want to turn your head slightly so you are looking out toward the target.
Some golfers make an error here, raising their head while they rotate it. Unfortunately, this error can ruin all your other preparation by knocking your lines out of whack. A slight rotation of the head will give you a good view of the green while also creating nice straight lines from your club face, to your ball, and out toward the green and the hole.
Finally, take the swing! If you’ve done everything right, you should see the ball follow a straighter and more accurate arc. And if you go through this process with every iron shot, I guarantee that you’re going to start hitting more greens in regulation.
What Do You Think?
Have you tried out our system for aiming irons? Is it helping you avoid pulling the ball left or right when you hit shots out of the fairway? Or are you still having trouble hitting those greens?
Join us in the comments to share feedback or to ask any questions you might have!
This was good, but I always stand behind the ball first to see my line, then pick a spot 12-18 inches in front of the ball. Now I do all the things you talk about. PS, when you separate your feet your left foot is ahead of your right so you are hitting from a slightly closed stance. Maybe this is intentional, but if you are instructing to hit from square stance then you should make sure you are doing it.
About aim. I like to go behind the ball and pick a spot in line with the target. A leaf, a blade of grass or something else about 3 feet in front of the ball. That helps set the line for my swing position.
Kevin,
Solid suggestions here…thanks for adding to the conversation. Have you been to our YouTube channel? https://youtu.be/wh_-0tVAMNM
Jerry,
You have a good eye! Here is the reason behind the slightly closed stance https://youtu.be/nrMX8reAhlY
I believe this to be a strategy that will help me, can’t wait for 60 degree weather.
Love all your golf instructions; easy to understand! I read somewhere that if you want to get more distance play the ball slightly forward & to take off distance ball back. Can you please comment on this- agree or disagree. Thank you.
Always great advice. I use an alignment rod or another club on the ground during range practice. Very important to keep the face square in the take-a-way. Rolling the clubface will ruin everything you’re trying to accomplish.
Always practice the basics first, then you can work on the nine shot patterns in golf (low, medium, high, center, left, right)
Steve,
You are spot on with your comment on the takeaway. Thanks for adding to the conversation.
Joan,
Good question. There is some truth to this with the driver as hitting up on the ball will add distance all things being equal. We have not see that moving the ball back or forward would in its own change the distance with and iron. The key to more distance is swing speed and solid contact. Here is a good video we did that may help you https://youtu.be/PeWAFo0_Qfc
Terence,
We are with you on the nice weather! In the meantime, here is a good video that will help all golfers improve their irons https://youtu.be/PeWAFo0_Qfc